Hello friends,
I am back with a 3D quilled flower tag.
it is simple to make and gives good dimension to your project.
Leaves are die cut from spellbinders die. I kept everything else simple because I wanted to keep the focus on the quilled flower.
Hi my Crafty Friends,
Here is my take on White on White Challenge.
I dry embossed the front panel of white CS. Then die cut Little Princess Die on a white CS, to give some interest, I added some glitter on the die cut. Die cut the sentiment from white CS. The panel was then put on a side folding card :)
Today I am going to show few tags I made recently. These tags has lot of white spaces for journaling otherwise they will open up to write personal messages.
I am very happy today as I made to Top 3 @ Lulupu Challenge #33. Ye Ye !! :) :)
I created a Pop-Up Card whose inspiration is hoot - 2 Pop-Up Cards tutorial. I tried to replicate that card, here is the outcome ..
I used 5X5 inches light brown color card stock for this card. The sentiment is hand written and then fuzzy cut.
Vintage brown distress ink is used on all the borders of the card to hide white edges.
When card is opened, a Bird is sitting on a branch. To make that branch, I used the same pattern paper that I created for tree trunk. Then did some shading on the leaves using green marker
Branch and leaves are then fuzzy cut out.
The PP pasted inside of the card are then trimmed out little shorter then the edge, using the scallop scissor and then pasted on the opposite sides.
To make this card, I created 4 pattern papers myself:
1. Leaves pasted on the front page, are hand drawn using white gel pen on green color card stock.
2. To give the look of a tree trunk, I heat embossed clear embossing powder on dark brown color card stock using stem stamp from 'Autumn Crisp - Clear Acrylic Stamp - Pine' .
3. PP pasted on the left side of the interior of the card, is made through layered stamping technique.
On a water color paper, I used Desert Brown Momento ink on a bubble wrap. After this, I stamped bug on it from Lawn Fawn's 'On the Mend' stamp kit and colored it using Grey color Momento Ink.
4. To make the PP pasted on the right side of the card, again I did layered stamping using the stamps from Autumn Crisp - Clear Acrylic Stamp - Pine.
This is not a background stamp, but I used this stamp excessively to made these backgrounds.
Video of the finished card
I am entering this card in the below competitions :
CSCC #5Pop Up Cards :
Here you have what looks like a tree with a Bird poking through from its little hole saying Hi.
Lulupu Challenge # 34 - Bingo! :
My card satisfies top most across line. Bird peeping out is Die Cut. The Location pin symbol is from Wood Veeners. The trunk of the tree is heat embossed.
Below are the Menu Placards that we created for Zoo theme birthday party.
these are loaded with die cut animals and green grass :-)
Hope you will like these ..
I was browsing my old photo gallery and found this birthday Card that I made pretty long time back for a friend's little daughter !!
She is a darling and very very Cute :) :)
2 PP are used for the card front along with banner made by Washi tape and a die Cut lion !!
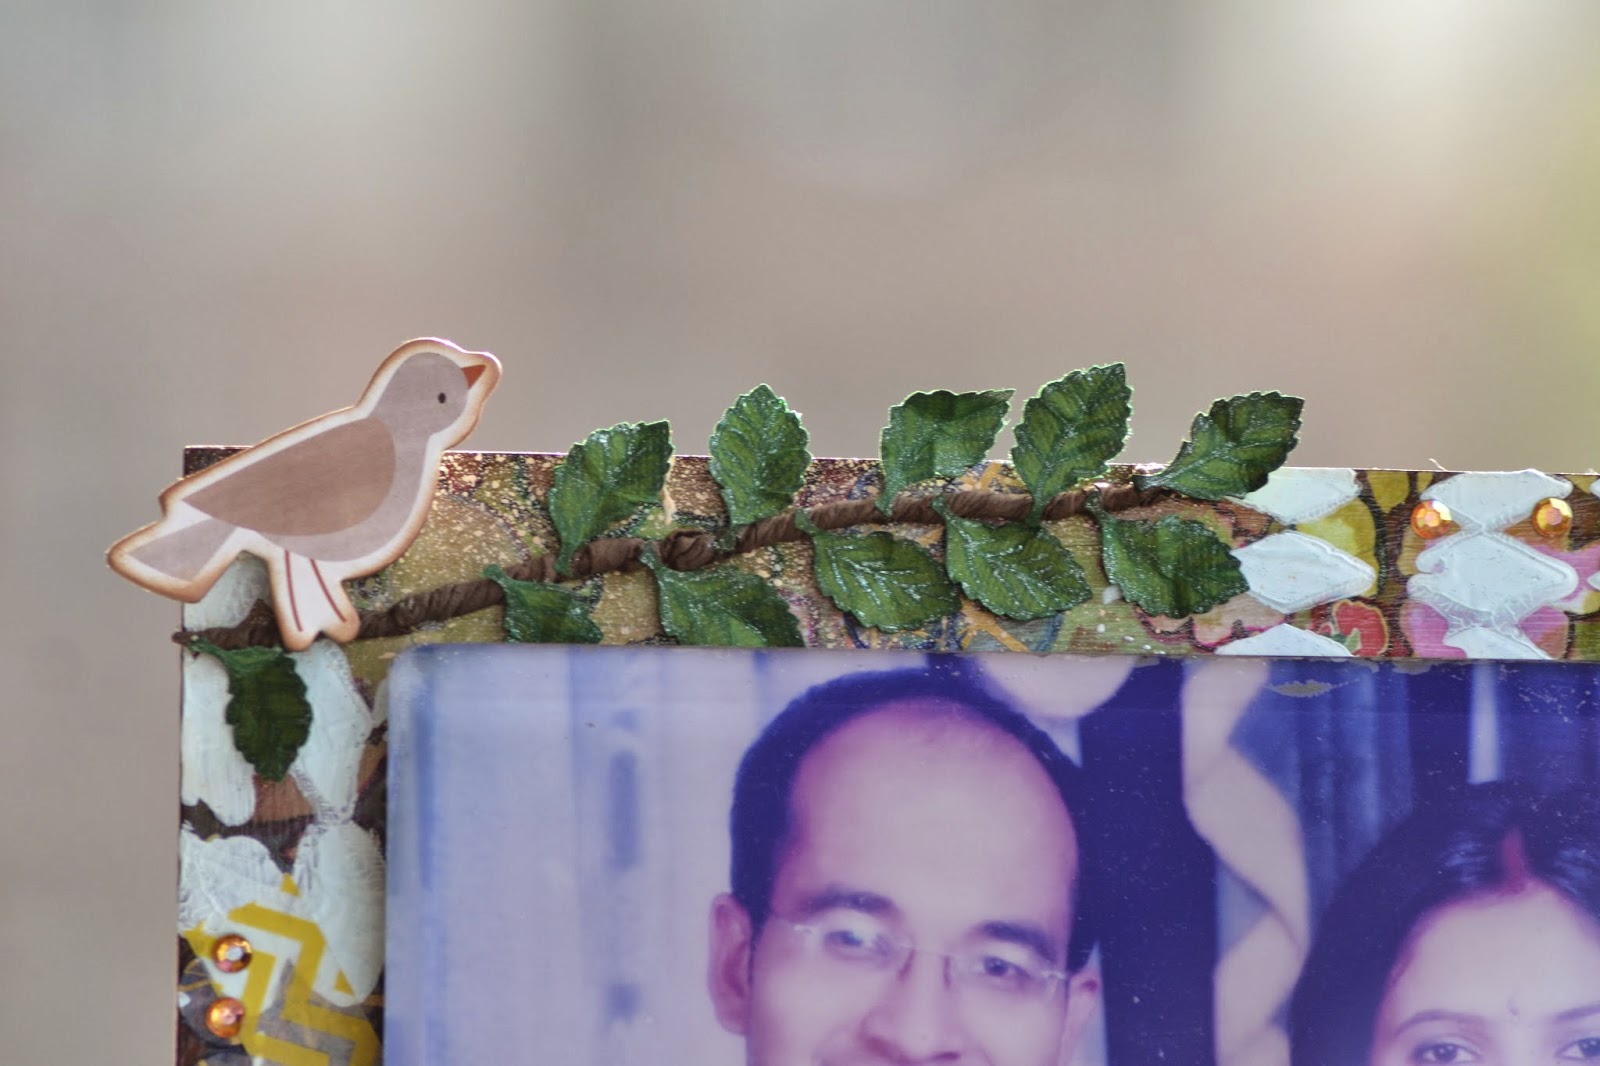
This is my Wedding Reception photo. The photo and photo-frame are pretty old ;-)
I decorated the frame and presenting it to you..
To create the background of the frame, I sprayed Pink and Green distress inks on a colorful PP, highlighted the design through markers and gel pens. Punched out mini circles from golden printed Vellum sheet and then pasted the same on the PP.
I applied a layer of Modge Podge Gloss to make the base non-porous. Through Stencils I created Harlequin design through the UTEE. I sprinkled peach color oil paint on the PP at some places.
The foreground is then decorated with Prima Flowers, Bird and other embellishments ..
Objects are distressed thorough Vintage Photo Distress Ink Pad.
My project consists of all the letters :
C - Chevron Washi Tape, Curls (Quilling)
L - Laser cutouts, Leaves
P - Printed Papers, Pebble Chips, Pearls, Prima Flowers, Pink, Peach